Simple Dress block for summer outfits
Summer is coming soon, and I know everyone is going to want to change out of those winter clothes. It’s finally warm here in Calgary!
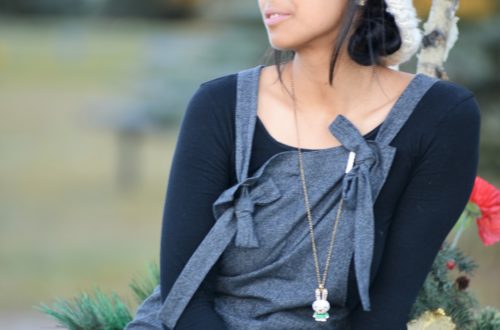
To kick off the summer, I’ve made a basic block for anyone that wants to try their hand at making their own patterns. This block is perfect for those off the shoulder styles that you’ve been dreaming of.
Materials
- Large piece of paper or many small papers taped together
- Pencil
- Rulers
- Flexible measuring tape
- Several pieces of rope that can wrap around your body, about 4
- Scissors
Measurements you will need:
- Chest
- Chest to bust
- Bust
- Bust to waist
- Waist
- Waist to hip
- Hip
- Hip to the shortest length you are comfortable wearing
Measuring
To start off, make sure to wear thin clothes to get as close to your true size as possible. If you can, borrow a friend to help you out, otherwise, it’s okay to do it on your own.
I generally measure in CM (centimeters). I find it’s more accurate and gets to the closest MM (millimeters) possible.
The chest measurement is found by using the measuring tape and wrapping it under one armpit, to the neighboring armpit and all around. Tie rope #1 here.
To measure your bust, wrap the measuring tape around the fullest part of your chest all the way around the back and full circle. Tie rope #2 around this part.
For the waist, you can accurately find your waist by bending side to side and using the crease. Tie rope #3 at this part. Measure around.
When measuring the hips, I find it easiest to refer to a mirror. Get comfy, we’re going to be looking at that rear end for a bit. Measure, starting from the fullest of your butt around to the front and back. Tie rope #4 here.
Next, measure the chest to bust point. This is why we tied all that rope. I know, you may look a bit funny, but it’s less work and easier to measure! It doesn’t generally matter at what points on the ropes you measure, but it may be ideal to do it at the fullest part, straight down from the chest rope to the bust rope.
Do the same to find the measurements for your bust to waist, waist to hip and hip to shortest comfortable length skirt.
Make sure all the measurements are written out and easy to read. You will refer to this.
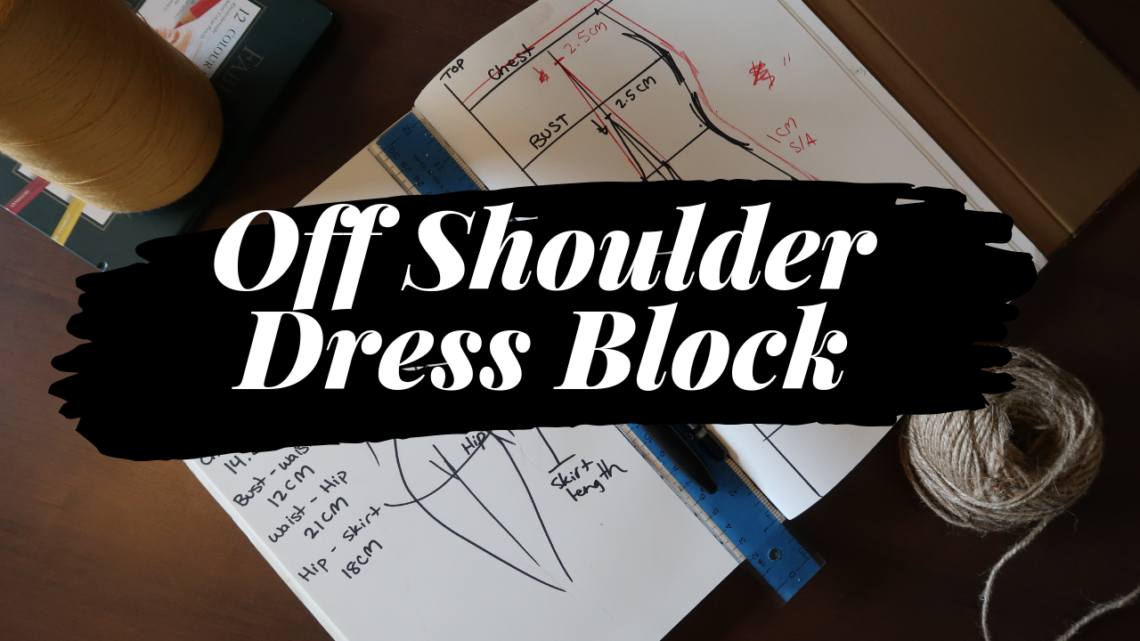
The Block
NOTE/TIP: If your paper is all wrinkled, iron it out, on low setting, with steam off. Makes it much easier to work with.
Make sure your work area is clear and you have an even flat surface to draw on.
Draw a line parallel to the length of your paper on the far left side. Leave about 1 inch space from the edge of the paper for seam allowance for centre back zippers. Mark this as CF/CB. This will double as your centre front and back line.
At the top of this line (CF/CB), draw a line perpendicular to it. Make sure there is enough room at the top for seam allowance. This will be your CHEST line.
From the CHEST line, mark down the measurements as follows:
- Chest to bust measurement, followed by,
- Bust to waist measurement, followed by,
- Waist to hip measurement, followed by,
- Shortest skirt length
Square off from the CF/CB line to these points on your draft.
If the top line is your CHEST line, the one below that is your BUST line, and after that is the WAISTline and after that is the HIP line, and the last one will be your SKIRT length line.
To get the proper measurements for the lines you just created, divide your measurements by 4.
I.e. bust line:
90 CM / 4 = 22.5
These other measurements will be the chest, bust, waist, and hip.
Mark these points for the remaining measurements. With the exception of the waist, add 2.5 CM for the dart.
I.e. waist:
65 CM / 4 = 16.25 CM
16.25 + 2.5 = 18.75 CM
From the end of the hip point, square down to connect it to the skirt length.
Connect the sides of all the points. It should start looking like a block! One side will be straight, and the other side will have dips and bends.
The sides are probably too pointy, so smooth out the connecting lines with french drafting rulers or anything rounded.
Darts
Starting from the WAIST line, measure halfway across, and draw a perpendicular line straight up and down to the BUST and HIP line. This will be known as the DART line. Back to that WAIST line point, remember how we added 2.5 CM at the waist? Divide 2.5 in half, and add these to both sides of the new line.
2.5 / 2 = 1.25 CM
The front dart will begin 2.5 CM below the BUST line. Mark this point on the DART line.
The front dart ends 5 CM above the HIP line. Mark this point on the same line.
If it helps, use a different colour to connect all those points. It should look like a diamond when the front dart is complete.
The back dart will be placed in the same area. So again, use a contrasting colour if it helps you differentiate the front and back dart.
The back dart sits 2.5 CM below the CHEST line, or in this case the top line.
The back dart sits 5 CM above the HIP line. Mark all these point on the DART line.
Connect all points.
Now you are all set to make whatever off the shoulder outfit you can imagine! If you need some inspiration, I’ll be coming out with ideas in the following weeks to come. I can’t wait for summer!
Come back next week to see how I used this block to transform an old blouse into an adorable dress!
Let me know what you plan on making with your off-shoulder block, or if you would like me to walk you through how to do a muslin/mockup to make sure it fits, comment below! Be sure to tag me on IG with the #eccentralitymade We can all enjoy the creative process together!
Love what you’ve got, reimagine what you have – Thanh